
18 May How to Fix a Hole in Drywall
Not fixing a hole in drywall can make your place look ugly, whether it’s a small scratch caused by moving furniture or a larger hole from a doorknob impact. Drywall repair can restore your wall to its original condition, giving your space a clean and polished look.
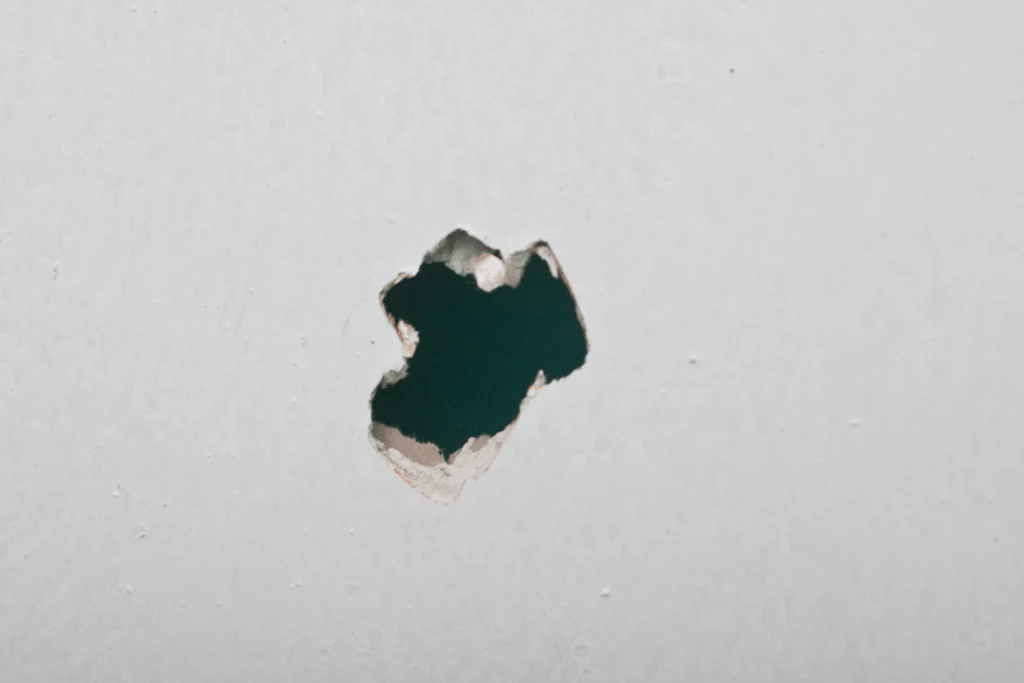
Understanding the Type of Hole
Before starting the repair, it’s important to determine the size and type of the hole.
- Small Holes (less than 6 inches): Typically caused by nails, screws, or minor wall indentations.
- Medium Holes (6 to 12 inches): Often from doorknobs, shelves, or other impacts.
- Large Holes (greater than 12 inches): Larger holes require a patch panel for a more secure fix.
Tools and Materials Needed
- Safety Gear: Safety glasses and a dust mask.
- Tools: Utility knife, drywall saw, putty knife, drywall tape (paper or mesh), sandpaper, paint roller or brush.
- Materials: Drywall patch (if necessary), joint compound, primer, matching paint.
Preparing the Area
- Clean the Area: Remove any loose materials around the hole and vacuum any fine dust or debris.
- Protect Surrounding Areas: Use a drop cloth to cover the floor and any nearby furniture to avoid spills.
- Safety Precautions: Wear safety glasses, a dust mask, and gloves to protect yourself from dust and debris.
Fixing Small Holes
For Nails or Screws:
- Remove the Protruding Nail/Screw: Use a screwdriver to gently remove any protruding nail heads or screws.
- Seal and Spread: Apply a drywall compound over the hole with a putty knife, smoothing it evenly. Let it dry completely (overnight is ideal).
- Sand Coarse: Once dry, sand the surface with coarse sandpaper to smooth out any excess filler. A quick spray of water can help remove any dust.
- Additional Coats: Apply additional coats of drywall compound as needed, allowing each layer to dry before sanding again.
For Dents or Minor Dings:
- Apply Compound: Fill the dent with drywall compound.
- Smooth and Sand: After applying, ensure each layer is smooth, and sand between coats for a flawless finish.
Repairing Medium Holes
- Trim the Hole: Use a utility knife to trim the hole into a square or rectangular shape. This makes the patch easier to apply and ensures a neat repair.
- Prepare the Backing: Cut a piece of wood or cardboard to fit the hole and plane the edges for a snug fit.
- Fit the Backing: Secure the backing into the hole with screws or nails, ensuring it lies flat against the wall.
- Apply the Patch: Cut a drywall patch to cover the hole and screw it onto the backing.
- Sand and Smooth: After the joint compound has dried, sand the edges and smooth out any excess filler. Use a putty knife to level the surface.
- Dry and Sand Again: Once dry, apply additional coats of compound if needed and sand in between layers to achieve a smooth finish.
Fixing Large Holes
- Enlarge the Hole: Use a drywall saw to cut the hole into a perfect square or rectangle, ensuring clean, even edges.
- Install a Backing Board: Plane a piece of wood to fit the hole and screw it into place, ensuring it is level with the wall.
- Apply the Patch: Cut a piece of drywall large enough to cover the hole and secure it to the backing board with screws.
- Tape and Mud the Seams: Apply drywall tape to the seams, then coat the tape with joint compound. Smooth out the compound to match the surrounding wall.
- Multiple Coats: Apply additional coats of joint compound, allowing each layer to dry and sanding between each application for a smooth finish.
Finishing Touches
- Seal the Area: Once the repair is complete, seal the area with a primer to blend the patch with the rest of the wall.
- Paint the Wall: After the primer dries, paint over the area to match the rest of the wall. Use a paint roller or brush to ensure an even coat.
Tips for a Professional Finish
- Feather the Edges: Apply joint compound beyond the edges of the patch to blend it seamlessly with the wall.
- Use Quality Materials: Ensure that both the joint compound and drywall tape are of high quality for better durability.
- Take Your Time: Allow each coat of joint compound to dry thoroughly before sanding or applying the next layer.
- Level the Patch: Ensure the patch is level with the surrounding wall to avoid any noticeable bumps.
Sorry, the comment form is closed at this time.