
07 May How Do You Remove Popcorn Ceiling
Popcorn ceilings, also known as acoustic ceilings, were commonly used in homes during the 1970s and 1980s. They were favored for their rough texture that helped mask imperfections. However, due to asbestos concerns and the demand for smoother, more modern finishes, popcorn ceilings are no longer in vogue. If you’re considering removing your popcorn ceiling, it’s crucial to follow the proper safety steps and techniques. This article will walk you through the entire process, ensuring you achieve a clean, modern look for your home.
Understanding Popcorn Ceilings
Before proceeding with removal, it’s important to understand what popcorn ceilings are. These textured ceilings typically consist of a mixture of joint compound, paper pulp, and sometimes Styrofoam, sprayed onto the ceiling surface. The biggest concern with these ceilings, especially in homes built before 1980, is the presence of asbestos. If you suspect asbestos, it’s vital to have your ceiling tested before proceeding with removal.
Safety Precautions
- Test for Asbestos: If your home was built before the 1980s, it’s essential to have your ceiling tested for asbestos. If asbestos is present, do not attempt removal yourself—hire a certified asbestos removal specialist.
- Protective Gear: Wear protective clothing, a dust mask or respirator, goggles, and gloves to shield yourself from dust and debris during the removal process.
- Seal Off the Area: Protect your furniture and flooring by covering them with plastic sheeting. Use painter’s tape to secure the sheeting and prevent any dust from escaping. Close doors and air vents with plastic sheets to contain the dust.
- Ventilation: Ensure the room is well-ventilated by opening windows and using fans. This will help clear dust and improve air quality during the removal process.
Tools and Materials Needed
To efficiently remove popcorn ceilings, gather the following tools and materials:
- Utility knife
- Spray bottle
- TSP (trisodium phosphate) or mild detergent
- Bucket
- Garden sprayer or paint roller
- Wide putty knife or scraper
- Sanding pole with sandpaper
- Drop cloths
- Painter’s tape
- Safety gear (mask, goggles, gloves)
- Plastic sheeting
Step-by-Step Removal Process
Step 1: Preparation
- Electrical Fixtures: Temporarily cover light fixtures and ceiling fans to prevent water damage. Turn off any electrical appliances in the room for safety.
- Mask the Room: Cover the entire room with plastic sheeting, including floors and furniture. Tape the sheeting securely around the edges to ensure a tight seal.
- Cutting the Popcorn Texture: Using a utility knife, cut a 2×2-foot section of the ceiling in the corner to check for wiring or pipes hidden beneath the popcorn texture.
Step 2: Wetting the Ceiling
- Preparation of the Solution: Fill a spray bottle or garden sprayer with water and add a few drops of mild detergent. Avoid using too much detergent to prevent the texture from dissolving too quickly.
- Ceiling Pre-Treatment: Lightly mist the popcorn texture with the solution, ensuring the surface is damp but not soaked. Allow the solution to sit for about 10 to 15 minutes to soften the texture.
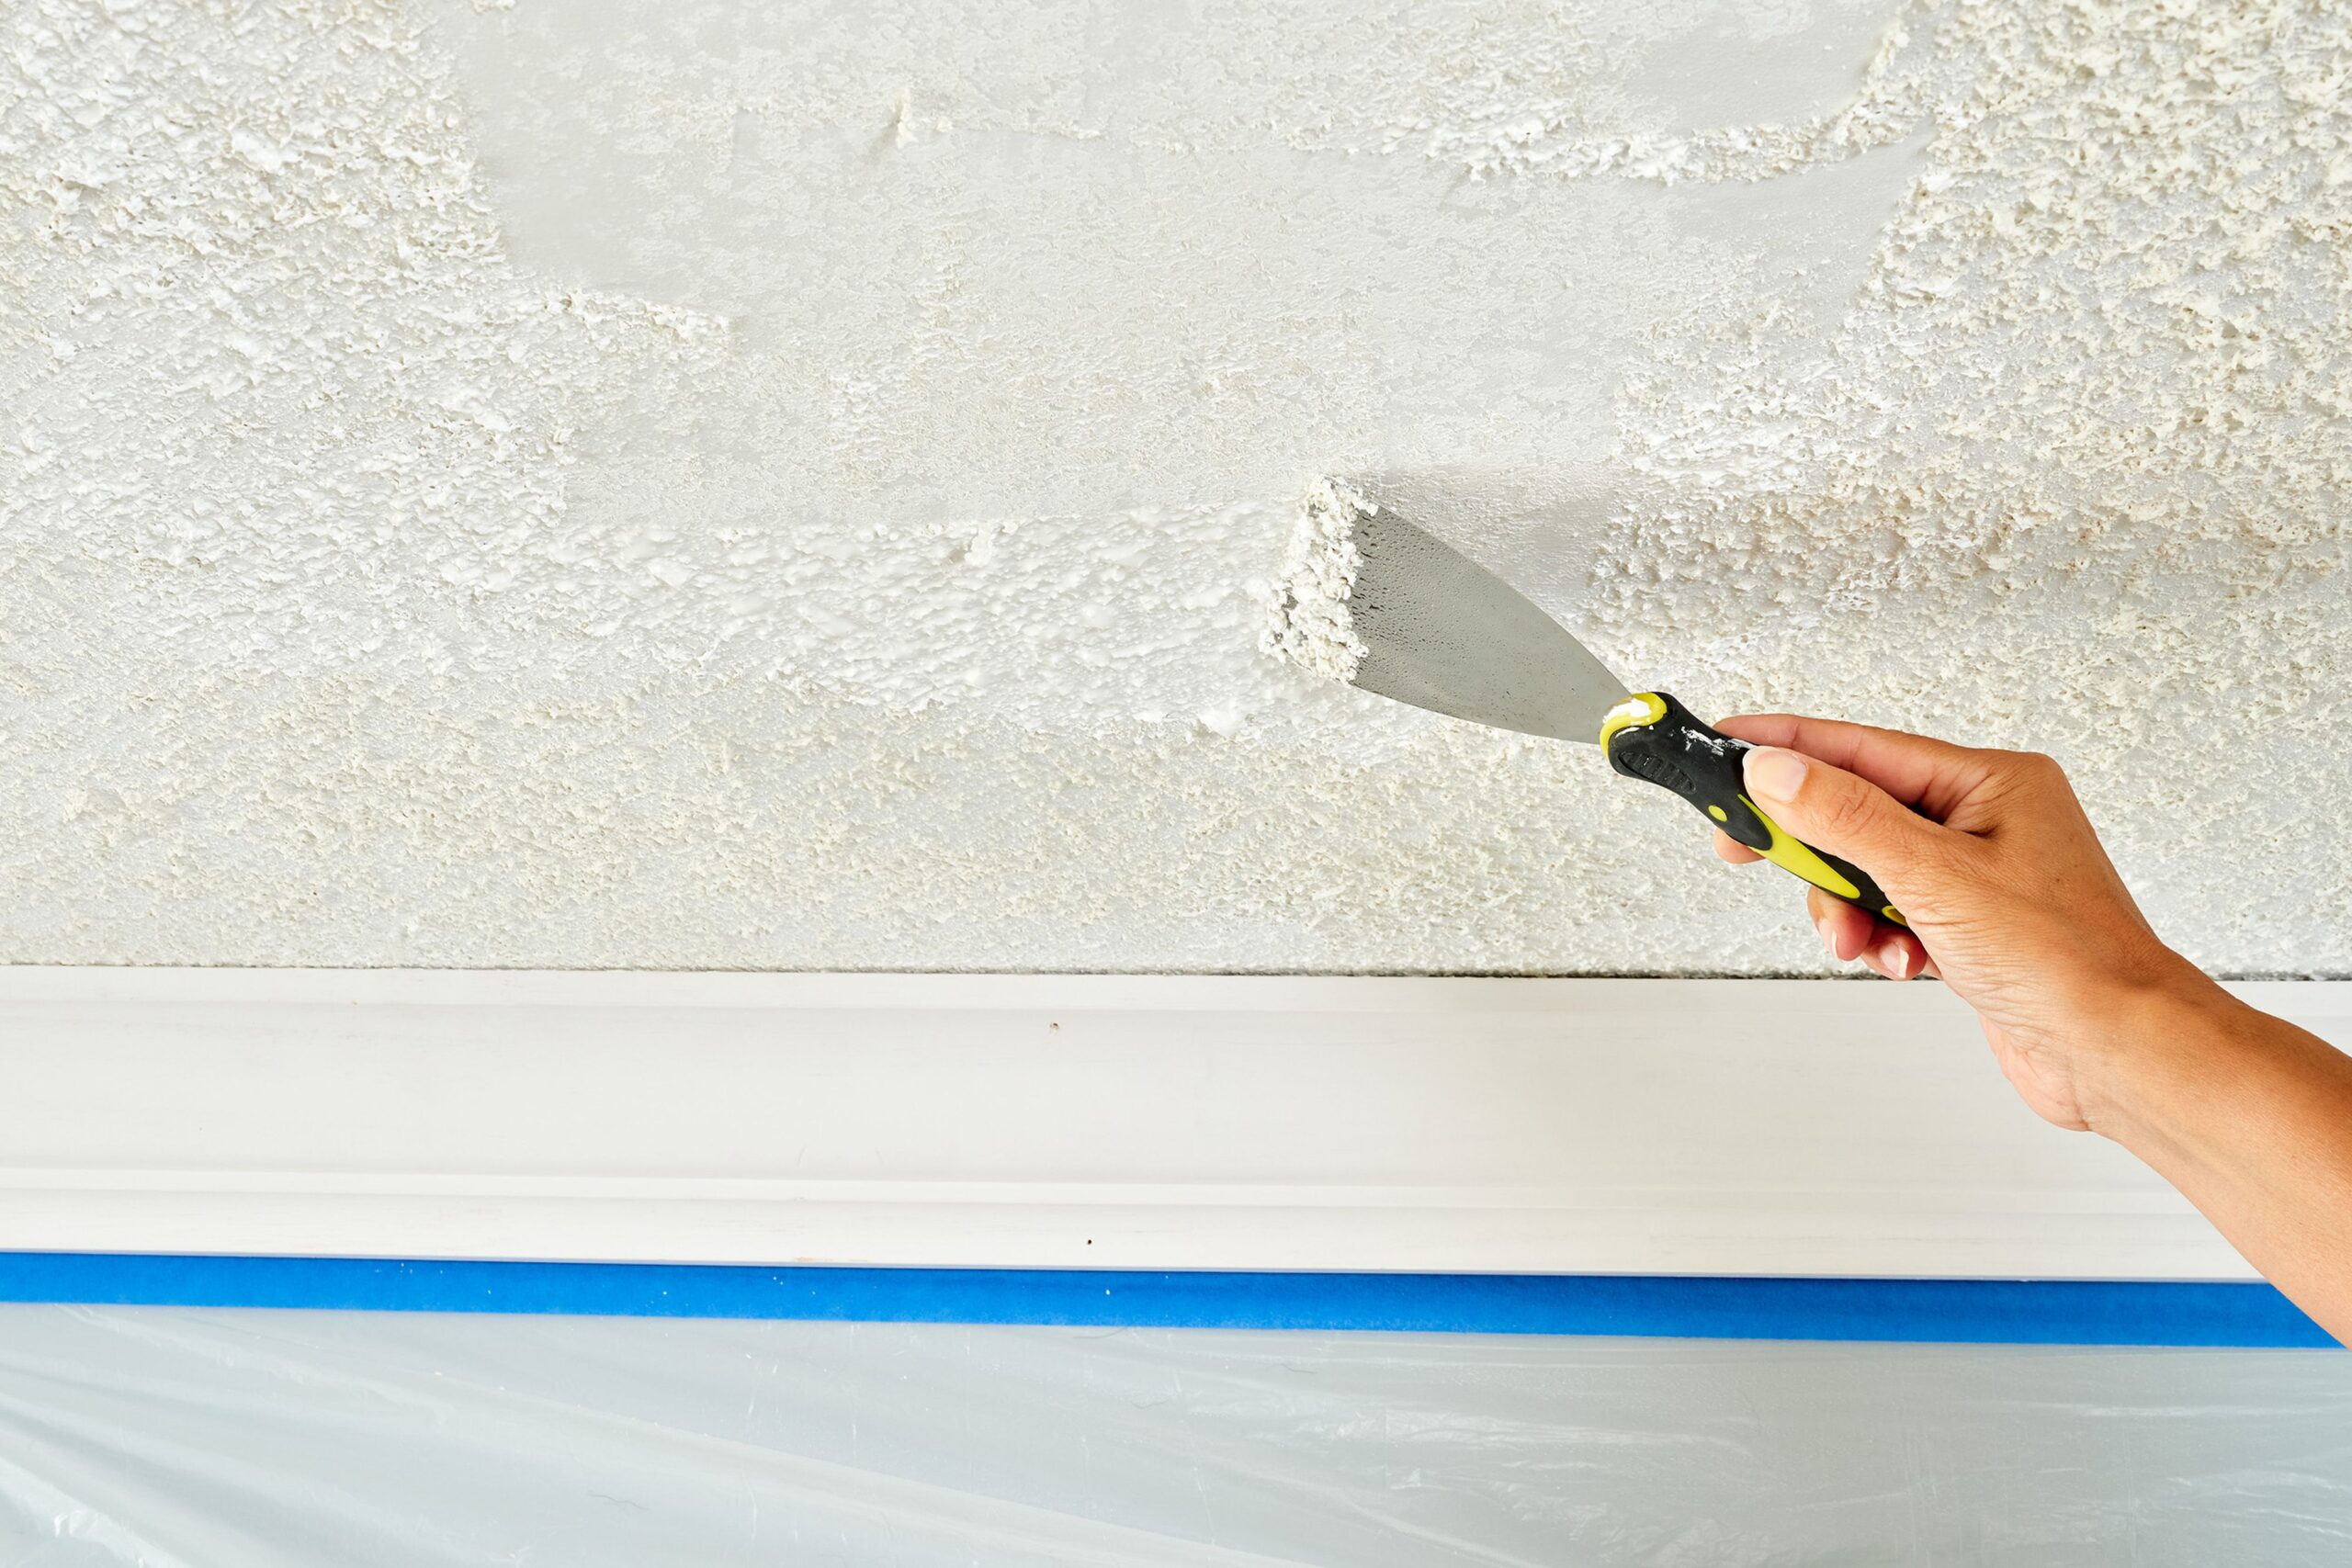
Step 3: Scraping the Ceiling
- Remove the Textured Surface: Using a wide putty knife or scraper, gently scrape the softened popcorn texture off the ceiling. Work in small sections to prevent the area from drying out before you’ve had a chance to scrape it. Keep the scraper at a slight angle to avoid damaging the drywall underneath.
- Re-Wet as Needed: If the texture is still difficult to remove, reapply the water solution and continue scraping.
Step 4: Sanding
- Sanding the Surface: After removing most of the popcorn texture, use a sanding pole with fine-grit sandpaper to smooth out any rough spots. Be careful not to over-sand, as it can damage the drywall.
Step 5: Cleaning and Repairing
- Ensure the Surface is Clean: Wipe down the ceiling with a damp cloth to remove any dust or debris.
- Fix Any Damage: Check the ceiling for any imperfections or damage. If you find any holes, apply a joint compound to fill them in. Once the compound has dried, sand the area smooth.
Step 6: Finishing Touches
- Undercoat: Apply a primer to the exposed drywall to ensure an even surface for painting.
- Painting the Ceiling: Choose a paint color suitable for ceilings and apply it evenly to create a clean, polished look.
Additional Tips
- Allow Drying Time: Make sure the ceiling is completely dry before proceeding to paint or apply any finishes.
- Hire Professionals: If your ceiling is large, or if you suspect the presence of asbestos, it’s a good idea to hire professionals to handle the removal safely.
- Consult Local Regulations: Different regions may have specific regulations regarding the removal of asbestos. Always check local laws before proceeding.
By following these steps and precautions, you can safely and effectively remove your popcorn ceiling, transforming your space with a modern, smooth finish.
Sorry, the comment form is closed at this time.